CO2 Mini Bike Inflator Pump Guide: Fast Flat Fix
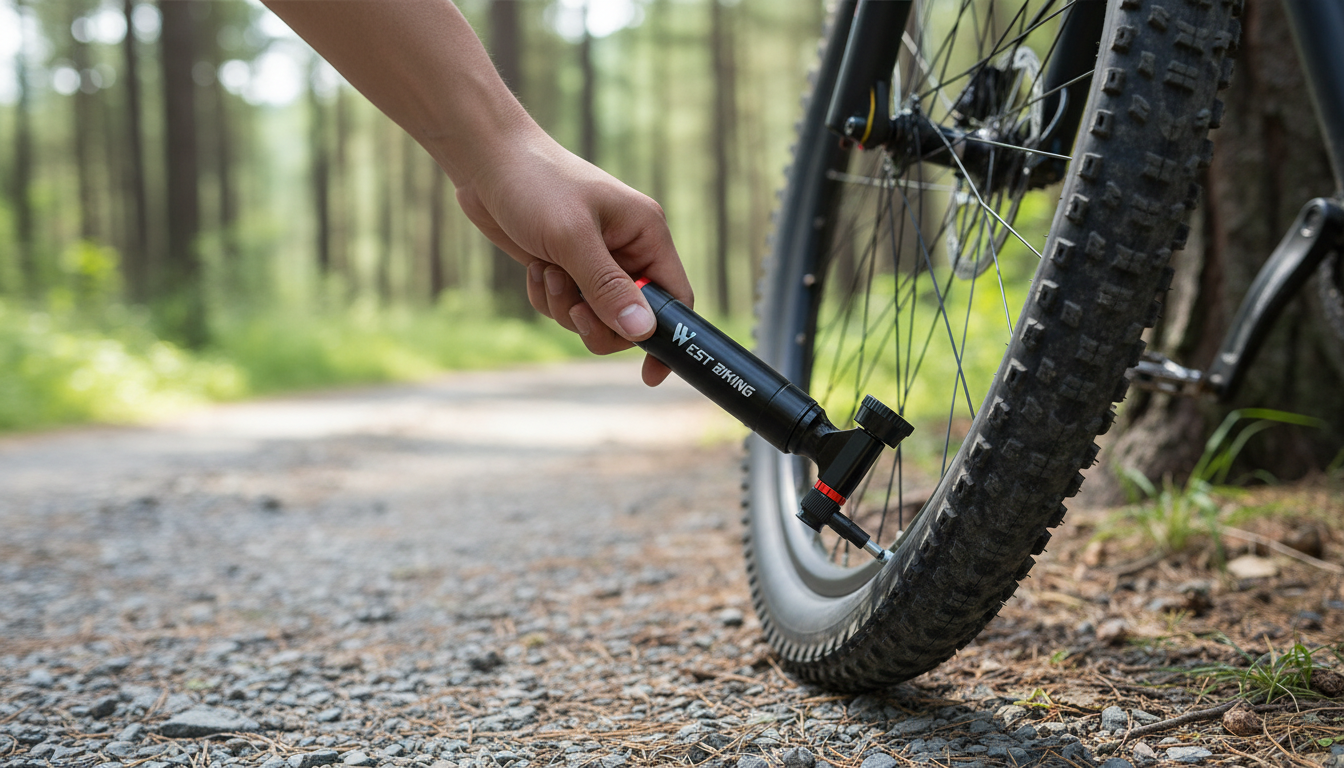
CO₂ Mini Bike Tire Inflator Pump: Fast Flats Fix for Road, Gravel, and Commuting
A CO₂ mini inflator pump is built for speed: thread on a cartridge, control the airflow, and get rolling again in minutes. Instead of grinding away with a tiny hand pump on the shoulder of the road, CO₂ gives you a quick, high-pressure burst that can get a repaired tire back to a “rideable” feel fast. Below is a practical guide to how CO₂ inflators work, what to check before your first ride, and how to use one confidently without wasting a cartridge. For more guidance, see Rechargeable Tire Pump: CYCPLUS AS2 Pro Max Review.
Why CO₂ inflation is different from a hand pump
CO₂ inflators solve a specific problem: getting a flat fixed and reinflated quickly when you’re out riding. A hand pump is unlimited air but slower; CO₂ is fast but consumable. For further reading, see Cycplus AS2, AS2 Pro and AS2 Pro Max mini e-pumps.
- Rapid air delivery: CO₂ releases a strong burst of pressure that helps snap the tire bead into place after a tube swap or tubeless plug repair.
- Best for finishing the ride: It’s ideal for emergencies, commutes, group rides, and races—not for routine home pressure maintenance.
- Pressure won’t hold as long: CO₂ diffuses through rubber faster than regular air, so it’s normal to need a top-off later with a standard pump.
- Single-use cartridges: Once you fire a cartridge, it’s done. Planning spares matters more than with a mini hand pump.
CO₂ Mini Bike Tire Inflator Pump overview
A compact CO₂ inflator belongs in the “fast fix” part of a roadside kit. It’s small enough to stash in a saddle bag, jersey pocket, or tool roll, and it’s meant to be paired with CO₂ cartridges you carry along.
- Packable and quick: A smart option when space is tight and speed matters.
- Made for post-flat inflation: Use it right after installing a spare tube or plugging a tubeless puncture.
- Cartridge pairing required: Most cyclists use threaded cartridges; confirm your cartridge size and threading before heading out.
- Works across ride styles: Road, gravel, and commuting kits benefit most because you can get moving again quickly.
If you’re building or upgrading your repair kit, the CO₂ Mini Bike Tire Inflator Pump is designed for exactly these on-the-go situations.
Compatibility checklist before the first ride
A CO₂ setup only feels effortless when the inflator, cartridge, and valve all match. Run through this checklist at home once, so your first try isn’t on the roadside.
1) Valve type
Confirm whether your bike uses Presta or Schrader. Some inflator heads are Presta-only, some do both, and others need an adapter. For a deeper valve overview, Sheldon Brown’s explanation of Presta and Schrader valves is a solid reference.
2) Cartridge type (threaded vs. non-threaded)
Most cycling cartridges are threaded. Make sure your inflator is designed for the cartridge style you’re buying, and test the threading before you pack it for a ride.
3) Tire volume (how much air you need)
Road tires take less volume, so one cartridge often gets you back to a safe pressure quickly. Gravel and MTB tires need more total air, so expect to carry larger cartridges or multiple spares—especially if you want more than the bare minimum pressure.
4) Rim/tire setup (tubeless vs. tubes)
Tubeless tires sometimes benefit from a fast blast to help seat the bead, but larger-volume tires can still be challenging with a single cartridge. Make sure the bead is sitting evenly before you inflate.
5) Cold-weather use
CO₂ gets extremely cold as it discharges. In winter conditions, that can make handling slippery and may affect sealing performance until things warm back up.
Quick CO₂ cartridge planning guide
| Bike setup | Typical cartridge plan | Notes |
|---|---|---|
| Road (narrow tires) | 1 cartridge often sufficient; carry 2 | Faster seating; easier to hit rideable pressure quickly |
| Gravel (mid-volume) | Often 1–2 cartridges | More air volume needed; consider carrying an extra |
| MTB (high-volume) | Often 2+ cartridges | May be hard to reach high pressure; focus on “rideable” pressure |
How to use a CO₂ inflator without wasting a cartridge
The biggest CO₂ mistakes happen before inflation starts: a half-seated bead, a stuck valve, or an inflator head that isn’t fully secured. A calm, repeatable sequence helps you avoid dumping a cartridge in seconds.
For flat-fix fundamentals (tube removal, tire seating checks, and repair best practices), Park Tool’s repair library is a trusted companion: Park Tool — Repair Help.
Safety and handling: avoiding frozen fingers and damaged valves
When CO₂ is the right choice (and when it isn’t)
Recommended kit pairing for a more reliable roadside repair
Shop in-stock picks
- CO₂ Mini Bike Tire Inflator Pump
- Women’s Buckle Strap Genuine Leather Sandals with Mid Heel
- Artificial Fiddle Leaf Fig Tree
- Cozy Fleece Hooded Pet Jacket for Small Dogs & Cats
FAQ
Does CO₂ work with both Presta and Schrader valves?
It depends on the inflator head design. Some are Presta-only, while others support both valve types or use an adapter, so it’s best to confirm your bike’s valve type and the inflator’s compatibility before buying and before rides.
Why does a tire lose pressure after using a CO₂ cartridge?
CO₂ diffuses through rubber faster than normal air, so pressure can drop sooner than you’d expect. After you’re home, top off the tire with a regular pump and check PSI with a gauge.
Can a CO₂ inflator be used on tubeless tires?
Yes—CO₂ can work for emergency inflation and can sometimes help with bead seating. Larger-volume tubeless setups may need more than one cartridge, and it’s smart to recheck bead seating, sealant, and then top off later with regular air.







Leave a comment