90KPa Dual-Pump Vacuum Sealer for Meal Prep & Freezer
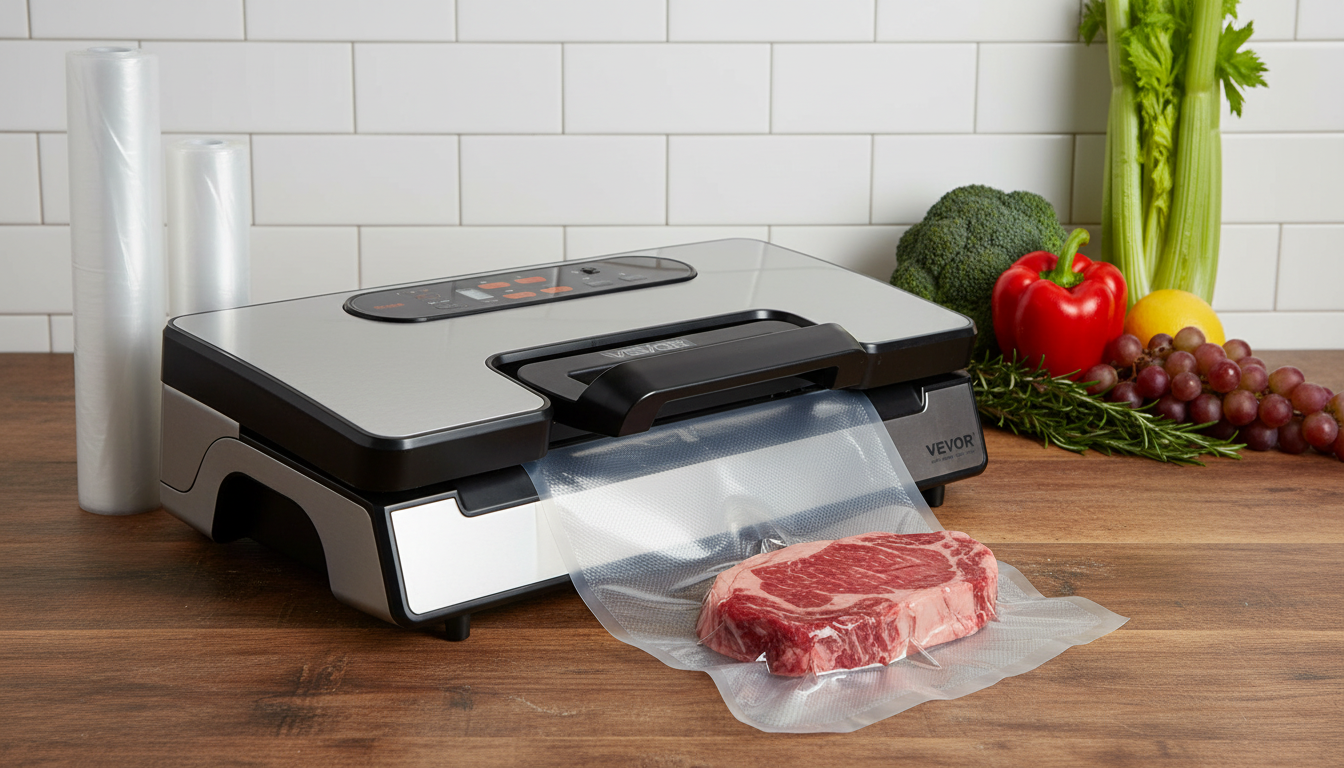
Powerful Sealing for Everyday Meal Prep and Freezer Storage
A strong vacuum seal can help slow freezer burn, cut down on wasted leftovers, and make weekly meal prep feel more organized. The Powerful 90Kpa Vacuum Sealer Machine with Dual Pump & 10 Food Storage Bags is built to pull air quickly and create a tight, reliable seal across common kitchen tasks—plus it includes bags so you can start sealing right away.
Whether you’re portioning bulk proteins, prepping ready-to-cook vegetables, or resealing pantry staples, vacuum sealing is all about consistency: strong suction, clean seal edges, and repeatable results from bag to bag.
What This Vacuum Sealer Does Well
- Creates a tight seal designed to help protect food from air exposure in the fridge and freezer
- Dual-pump design aims for quicker air removal and more consistent sealing on repeated batches
- Works for everyday storage tasks like portioning meat, prepping vegetables, and organizing pantry items
- Includes 10 food storage bags to begin sealing immediately
If you regularly buy family packs of chicken, ground beef, or frozen fruit, a dependable seal can make a noticeable difference in texture and flavor over time—especially when food is stored for weeks instead of days.
Performance and Suction Power: Understanding 90Kpa
KPa is a measure often used to describe vacuum pressure. In practical terms for home kitchens, a higher KPa rating generally signals stronger suction, which can help remove air more efficiently from larger bags or denser items. Strong suction is particularly helpful when:
- Sealing bulk meal prep (multiple portions in one session)
- Freezing proteins and prepared components (cooked shredded chicken, meatballs, chopped onions)
- Packaging foods with uneven surfaces that can trap air pockets
That said, sealing success isn’t only about suction. A clean, dry seal area matters just as much. Wrinkles at the top of the bag, moisture near the seal line, or crumbs along the seal bar can lead to slow leaks that show up days later in the freezer.
For delicate foods (berries, chips, soft bread), strong suction can crush what you’re sealing. If your unit offers a gentler setting, use it. Otherwise, short bursts (pulse-style technique) and stopping as soon as the bag tightens can reduce damage.
For food safety and best storage practices, it’s also worth following reputable freezing guidance like the USDA FSIS Freezing and Food Safety page and their Refrigerator & Freezer Storage Chart.
Dual Pump Benefits for Busy Kitchens
When you’re sealing one bag at a time, most machines feel similar. The difference shows up when you’re sealing back-to-back: multiple chicken portions, a stack of burger patties, and a few bags of prepped vegetables for the week.
- Helps handle repeated sealing sessions without frequent pauses
- Can reduce the time needed to evacuate air from larger bags
- Useful for batch cooking days (multiple proteins, marinated items, pre-cut vegetables)
- Supports a smoother workflow when portioning and labeling many packages
A practical rhythm is: prep and portion first, line up bags, then seal in batches—labeling each one as it comes off the machine so nothing becomes a mystery package later.
Included Food Storage Bags: How to Use Them for Best Results
The included bags are a simple but valuable add-on: you can test settings and get a feel for the seal quality immediately. For best results, focus on keeping the seal area clean and giving the machine enough “working room” at the top of the bag.
- Leave enough headspace at the top so the seal area stays clean and dry
- Pat foods dry and pre-freeze very moist items (like fresh fish) for a cleaner seal
- For soups, sauces, and marinades: pre-freeze flat, then vacuum seal to minimize liquid pull-in
- Label each sealed bag with contents and date; store flat to stack efficiently and thaw faster
Practical sealing setups by food type
| Food type | Best prep step | Sealing tip | Storage note |
|---|---|---|---|
| Steaks/chicken portions | Pat dry; portion evenly | Keep seal edge clean; avoid wrinkles | Freeze flat for quick stacking |
| Ground meat | Flatten into thin sheets | Seal with a smooth, even bag top | Thaws faster in thin packs |
| Vegetables (blanched) | Cool and dry after blanching | Pre-freeze on a tray if pieces are loose | Helps reduce ice crystals |
| Berries | Chill and dry | Use gentle vacuum/pulse if available | Store in a single layer first |
| Soups/sauces | Pre-freeze in a container | Seal once solid to prevent liquid in the channel | Store flat like a “sheet” |
Everyday Uses Beyond Freezer Storage
A vacuum sealer earns its counter space when it helps with the day-to-day, not just long-term freezing. Common uses include:
Care, Cleaning, and Long-Term Reliability
Who This Machine Fits Best
Shop In-Stock Picks
- Powerful 90Kpa Vacuum Sealer Machine with Dual Pump & 10 Food Storage Bags
- Artificial Fiddle Leaf Fig Tree
- Women’s Buckle Strap Genuine Leather Sandals with Mid Heel
FAQ
Can this seal liquids like soups or marinades?
Yes, but it works best when liquids are pre-frozen first. Freeze soups, sauces, or marinades flat (or in a container until solid), then vacuum seal to prevent liquid from getting pulled into the sealing area.
How strong is 90Kpa suction for home vacuum sealing?
90Kpa is considered strong for many home vacuum sealers and can help remove air quickly for freezer storage and bulk prep. Good technique still matters: keep the bag edge clean, avoid wrinkles, and ensure a solid seal.
Why do vacuum-sealed bags sometimes lose vacuum in the freezer?
Common causes include wrinkles in the seal, moisture or fat on the sealing edge, tiny bone punctures, or small bag damage. Reseal with a clean, dry edge, and consider double-sealing for items with sharp points.







Leave a comment